

Fastening a waterproof backer board to the wall is a crucial step in various construction and renovation projects, especially in areas prone to moisture such as bathrooms, kitchens, and laundry rooms. As a supplier of high - quality waterproof backer boards, I am here to share a detailed guide on how to fasten these boards effectively.
Preparation
Before you start fastening the waterproof backer board, proper preparation is essential. First, you need to measure the wall accurately. Use a tape measure to determine the dimensions of the area where the backer board will be installed. This will help you cut the backer board to the correct size. Make sure to account for any openings such as windows, doors, or electrical outlets.
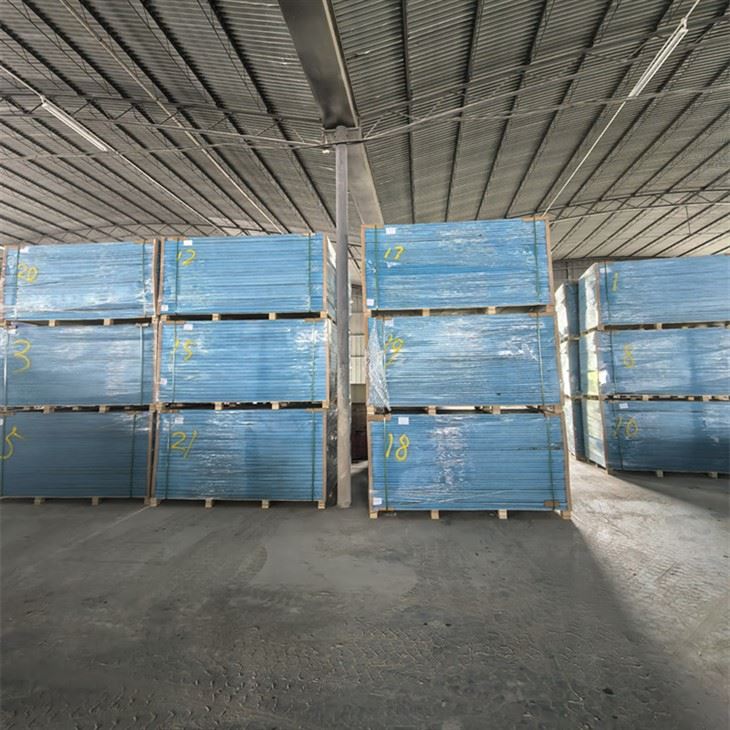

Next, gather all the necessary tools. You will need a utility knife for cutting the backer board, a drill with appropriate drill bits, screws, a level to ensure the board is straight, and a trowel for applying adhesive if required.
Choosing the Right Backer Board
As a waterproof backer board supplier, we offer a variety of products to meet different needs. For instance, our High Performance Concrete Panels are known for their durability and excellent waterproofing capabilities. These panels are suitable for both residential and commercial projects. If you need even higher performance, our Ultra High Performance Concrete Panels are a great choice. They are engineered to withstand extreme conditions and provide long - lasting protection against moisture. Another option is our Hardiebacker Cement Board for Walls, which is popular for its strength and ease of installation.
Cutting the Backer Board
Once you have chosen the right backer board, it's time to cut it to size. Place the backer board on a flat surface. Mark the cutting lines using a straightedge and a pencil. Then, use a utility knife to score the board along the marked lines. Apply firm pressure to ensure a clean cut. After scoring, break the board along the scored line. For more complex cuts, such as around pipes or electrical boxes, you may need to use a jigsaw.
Fastening the Backer Board
There are two main methods for fastening a waterproof backer board to the wall: using screws and using adhesive.
Using Screws
- Mark the Studs: Use a stud finder to locate the wall studs. Mark their positions on the wall. The studs provide a solid base for the backer board.
- Position the Board: Place the cut backer board against the wall, aligning it with the marked studs. Make sure the board is level using a level.
- Drill Pilot Holes: Drill pilot holes through the backer board into the studs. The size of the drill bit should be slightly smaller than the diameter of the screws you will use.
- Insert Screws: Insert the screws into the pilot holes. Space the screws about 8 - 12 inches apart along the edges of the board and 12 - 16 inches apart in the field of the board. Make sure the screws are flush with the surface of the backer board.
Using Adhesive
- Apply Adhesive: Use a trowel to apply a thin layer of waterproof adhesive to the back of the backer board. Spread the adhesive evenly, covering the entire surface.
- Position the Board: Press the backer board firmly against the wall, starting from one corner. Make sure the board is level and in the correct position.
- Secure with Screws: Even when using adhesive, it is recommended to use screws for additional support. Follow the same process as described above for drilling pilot holes and inserting screws.
Sealing the Joints
After the backer board is fastened to the wall, it is important to seal the joints to prevent moisture from seeping through. Use a waterproof joint compound to fill the gaps between the boards. Apply the compound with a putty knife, making sure to smooth it out. Then, cover the joint with a fiberglass mesh tape. Press the tape into the compound and apply another layer of joint compound over the tape. Smooth the surface to create a seamless finish.
Finishing Touches
Once the joints are sealed and the compound is dry, you can proceed with the finishing touches. You can paint the backer board, tile over it, or apply other finishes depending on your project requirements.
Maintenance and Troubleshooting
To ensure the long - term performance of the waterproof backer board, regular maintenance is necessary. Inspect the board periodically for any signs of damage or moisture penetration. If you notice any issues, such as cracks or water stains, address them immediately.
In case of any problems during the installation process, such as difficulty in cutting the board or improper fastening, don't hesitate to contact our technical support team. We are always ready to assist you.
Conclusion
Fastening a waterproof backer board to the wall is a relatively straightforward process if you follow the right steps. As a supplier of high - quality waterproof backer boards, we are committed to providing you with the best products and support. Whether you are a professional contractor or a DIY enthusiast, our products can help you achieve a durable and waterproof installation.
If you are interested in purchasing our waterproof backer boards or have any questions about the installation process, please feel free to contact us for a purchase negotiation. We look forward to working with you on your next project.
References
- "Building Construction Handbook" by Edward Allen and Joseph Iano
- "Residential Construction Academy Guide to Waterproofing"