

Hey there! As a supplier of Foam Backer Board Waterproof, I'm here to share with you how to install this awesome product on a granite surface. It might seem a bit tricky at first, but with the right steps and a bit of patience, you'll have a waterproof and durable setup in no time.
Why Choose Foam Backer Board Waterproof?
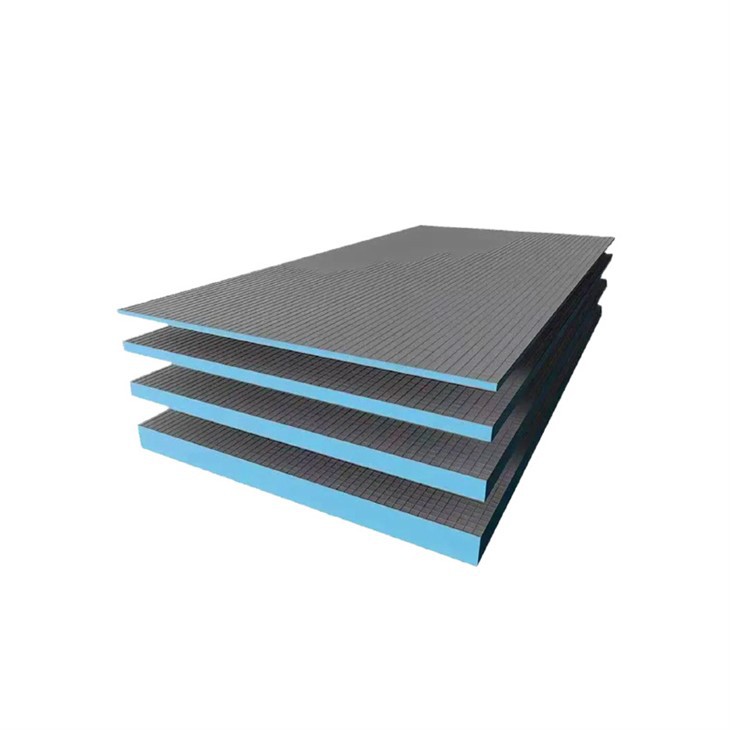
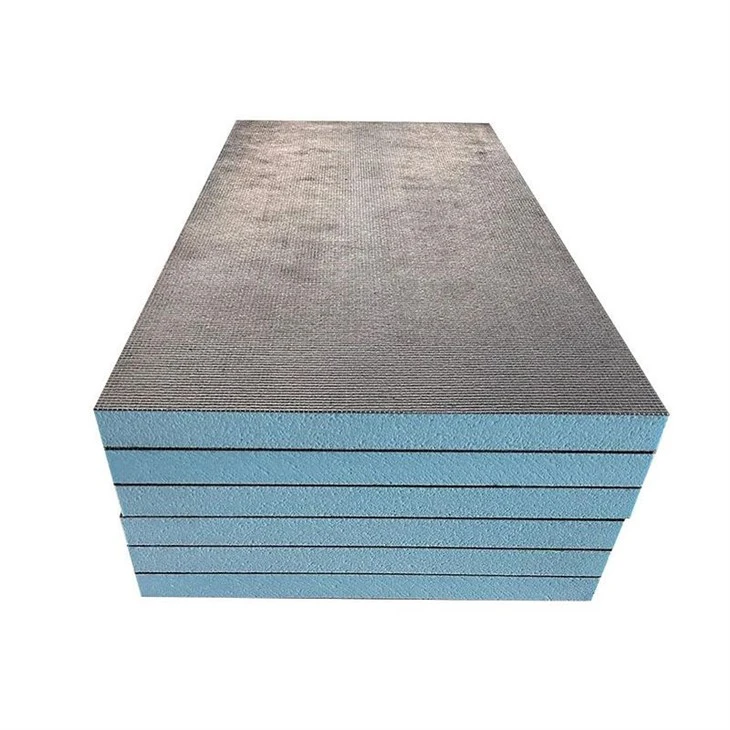
Before we dive into the installation process, let's quickly talk about why foam backer board waterproof is a great choice for your project. This type of board is lightweight, which makes it easier to handle compared to some other materials. It's also highly resistant to water, preventing moisture from seeping through and causing damage to your granite surface or the surrounding areas. Plus, it provides a smooth and even base for tiling, making your final finish look professional and clean.
You can check out our Shower Backing Board and Waterproof Foam Tile Backer Board for more options and details.
Preparing the Granite Surface
The first step in the installation process is to prepare the granite surface. You want to make sure it's clean and free of any dirt, dust, or debris. Use a mild detergent and a soft cloth to wipe down the surface. Rinse it thoroughly with water and let it dry completely.
If there are any rough spots or imperfections on the granite, you can use a fine-grit sandpaper to smooth them out. Just be careful not to scratch the surface too much. Once you've sanded the surface, wipe it down again to remove any dust.
Measuring and Cutting the Foam Backer Board
Next, you'll need to measure the area of the granite surface where you'll be installing the foam backer board. Use a tape measure to get accurate measurements, and then transfer those measurements to the foam backer board. You can use a straightedge and a utility knife to cut the board to the correct size. Make sure to cut the board slightly larger than the area you measured to allow for some adjustment.
When cutting the foam backer board, it's important to use a sharp blade. A dull blade can cause the board to tear or fray, which will make it more difficult to install. You can also use a circular saw with a fine-tooth blade for larger cuts, but be careful to keep the blade straight and avoid cutting too deep.
Applying Adhesive
Once you've cut the foam backer board to the correct size, it's time to apply the adhesive. You'll need to use a waterproof adhesive that's specifically designed for use with foam backer board. Apply the adhesive to the back of the board using a notched trowel. Make sure to spread the adhesive evenly and cover the entire surface of the board.
When applying the adhesive, it's important to work quickly. The adhesive will start to dry within a few minutes, so you'll need to get the board in place before it dries completely. You can use a level to make sure the board is straight and level before pressing it onto the granite surface.
Installing the Foam Backer Board
After applying the adhesive, carefully place the foam backer board onto the granite surface. Press it down firmly to ensure a good bond. You can use a roller or a flat tool to apply even pressure across the entire surface of the board. Make sure there are no air bubbles or gaps between the board and the granite.
If you're installing multiple pieces of foam backer board, make sure to align them properly and leave a small gap between each piece. This will allow for some expansion and contraction as the temperature and humidity change. You can use a spacer to ensure the gaps are consistent.
Securing the Board
Once the foam backer board is in place, you'll need to secure it to the granite surface. You can use screws or nails to secure the board, but make sure to use ones that are long enough to penetrate the board and the granite. You'll also need to use a drill to create pilot holes before inserting the screws or nails.
When securing the board, make sure to space the screws or nails evenly across the surface of the board. This will help to distribute the weight and prevent the board from warping or cracking. You can also use a sealant around the edges of the board to prevent water from seeping in.
Finishing Touches
After the foam backer board is installed and secured, you can add any finishing touches. You can tile over the board using your preferred tiles and grout. Make sure to follow the manufacturer's instructions for tiling and grouting.
You can also add a waterproof membrane over the board to provide an extra layer of protection. This can help to prevent water from seeping through the tiles and causing damage to the board or the granite surface.
Conclusion
Installing foam backer board waterproof on a granite surface is a great way to protect your surface and create a durable and waterproof setup. By following these steps, you can ensure a successful installation and a beautiful final result.
If you're interested in purchasing our Foam Waterproof Backer Board or have any questions about the installation process, feel free to contact us for a procurement discussion. We're here to help you with all your waterproofing needs.
References
- General knowledge about foam backer board installation and granite surface preparation.
- Product specifications and guidelines provided by the foam backer board manufacturer.