

Can I install a lightweight shower backer board myself?
Installing a shower backer board is a pivotal step in any bathroom renovation project. As a supplier of lightweight shower backer boards, I often get asked whether homeowners can take on this installation task themselves. The answer is a nuanced one, influenced by several factors including one's skill level, the type of backer board, and the specific requirements of the shower space.
Understanding Lightweight Shower Backer Boards
Lightweight shower backer boards have gained significant popularity in recent years. They offer several advantages over traditional heavy - duty options. Firstly, their reduced weight makes them easier to handle and transport. This is particularly beneficial for DIY enthusiasts who might not have access to professional lifting equipment.
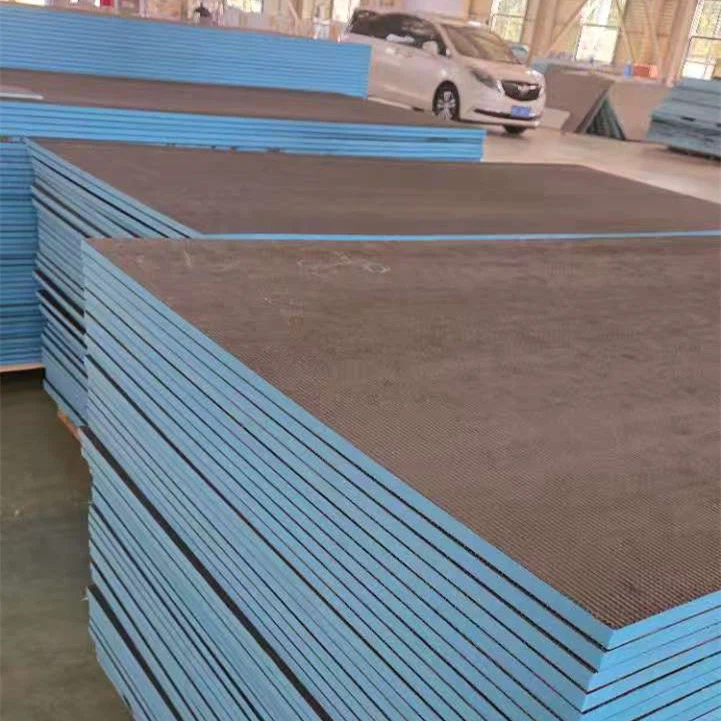
There are different types of lightweight shower backer boards available in the market. For instance, the Heat Resistant Backing Board is designed to withstand high temperatures, making it ideal for showers with steam functions. The Foam Waterproof Backer Board provides excellent insulation and waterproofing properties, while the Rigid Backing Board offers stability and durability.
Assessing Your DIY Skills
The first thing you need to do when considering self - installation is to realistically assess your DIY skills. Installing a shower backer board requires a basic understanding of tools and construction techniques. You should be comfortable using a saw to cut the board to the right size, a drill to secure it to the wall studs, and a level to ensure it is perfectly straight.
If you have previous experience with home improvement projects such as hanging drywall or installing shelves, you may have the necessary skills to take on the installation of a lightweight shower backer board. However, if you are new to DIY, it might be a good idea to start with smaller projects to build your confidence and skills before attempting to install a backer board in your shower.
Preparing the Shower Space
Before you start the installation process, proper preparation of the shower space is crucial. First, you need to remove any existing tiles, wallpaper, or other wall coverings. Make sure the wall surface is clean, dry, and free of any debris. Check the wall studs to ensure they are in good condition and properly spaced. The standard spacing for wall studs is 16 inches on center, and the backer board should be secured to these studs.
Measure the shower area accurately to determine the number of backer boards you will need. It's always a good idea to buy a few extra boards in case of mistakes during cutting or installation.
Installation Process
The installation process of a lightweight shower backer board typically involves the following steps:
- Cutting the Boards: Use a sharp utility knife or a circular saw to cut the backer board to the appropriate size. Make sure to wear safety goggles and a dust mask to protect yourself from dust and debris.
- Positioning the Boards: Start by positioning the first board at the bottom corner of the shower wall. Use a level to ensure it is plumb (perfectly vertical) and horizontal. Mark the locations of the wall studs on the back of the board.
- Securing the Boards: Use corrosion - resistant screws to secure the backer board to the wall studs. Drive the screws every 8 - 12 inches along the studs. Make sure the screws are flush with the surface of the board to avoid any bumps or unevenness.
- Sealing the Joints: Once all the boards are installed, use a waterproof joint compound to seal the joints between the boards. Apply the compound with a putty knife and smooth it out. This helps to prevent water from seeping through the joints.
- Finishing Touches: After the joint compound has dried, you can sand the surface of the backer board to make it smooth. Then, you are ready to install the tiles or other finishing materials.
Potential Challenges
While installing a lightweight shower backer board can be a rewarding DIY project, there are some potential challenges you may face. One of the main challenges is ensuring proper waterproofing. If the backer board is not installed correctly or the joints are not sealed properly, water can leak behind the board and cause damage to the wall structure.
Another challenge is dealing with irregular wall surfaces. If the walls are not perfectly straight or flat, it can be difficult to install the backer board evenly. In such cases, you may need to use shims or other leveling techniques to ensure a proper fit.
When to Call a Professional
If you encounter any major challenges during the installation process or if you are unsure about any aspect of the installation, it's best to call a professional. A professional installer has the experience and expertise to handle complex situations and ensure that the backer board is installed correctly.
Additionally, if your shower has special features such as a steam unit or a custom design, it may be more appropriate to hire a professional to ensure that all the requirements are met.
Conclusion
In conclusion, it is possible to install a lightweight shower backer board yourself if you have the necessary skills and are willing to put in the time and effort. However, it's important to carefully assess your abilities, prepare the shower space properly, and follow the installation instructions carefully.
If you are interested in purchasing our lightweight shower backer boards or have any questions about the installation process, we encourage you to reach out to us for a detailed discussion. Our team of experts is always ready to assist you in making the right choice for your bathroom renovation project.
References
- "Bathroom Renovation Handbook" by Home Improvement Experts
- Manufacturer's installation guides for lightweight shower backer boards