Hey there! I'm a supplier of Thermal Backer Boards, and I'm stoked to share with you how to install a thermal backer board on a brick wall. It's not as complicated as it might seem, and with the right steps, you can have a great installation in no time.
Why Use a Thermal Backer Board?
First off, let's talk about why you'd want to use a Thermal Backer Board. These boards are amazing for a bunch of reasons. They offer excellent thermal insulation, which means your home will stay warmer in the winter and cooler in the summer. This can save you a ton on your energy bills. Plus, they're durable and can withstand a lot of wear and tear.
What You'll Need
Before you start the installation, you'll need to gather a few tools and materials. Here's a list:
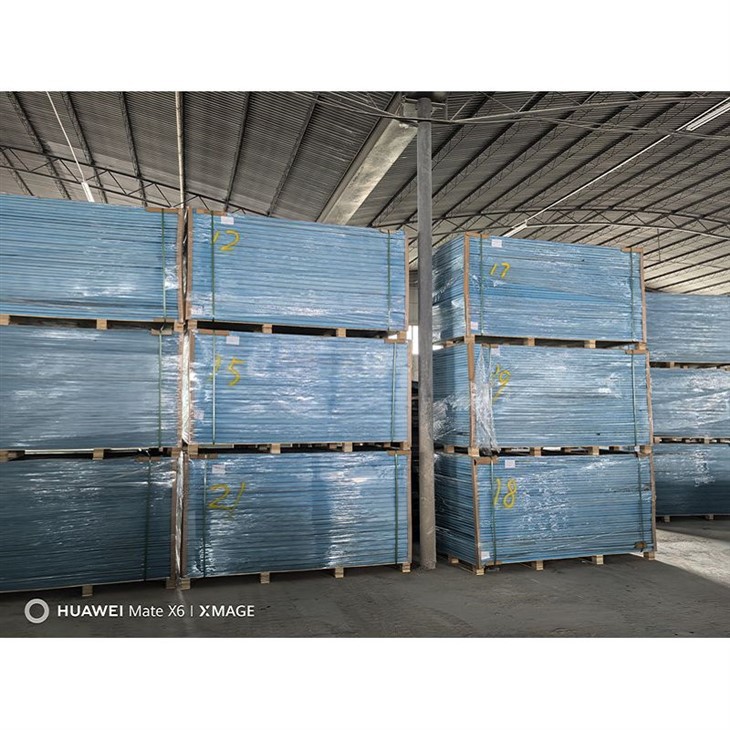
- Thermal Backer Boards: Obviously, you'll need the boards themselves. Make sure you get the right size for your project.
- Measuring Tape: To measure the area of the brick wall accurately.
- Utility Knife: For cutting the boards to size.
- Drill and Screws: You'll need these to attach the boards to the wall.
- Level: To ensure the boards are installed straight.
- Safety Gear: This includes safety glasses, gloves, and a dust mask.
Step 1: Prepare the Brick Wall
The first step is to prepare the brick wall. Start by cleaning the wall thoroughly. Remove any dirt, dust, or debris. You can use a wire brush to scrub the wall and then vacuum it to get rid of the loose particles.
Next, check the wall for any cracks or uneven areas. If you find any, you'll need to repair them before installing the thermal backer board. You can use a masonry filler to fill in the cracks and sand the area smooth.
Step 2: Measure and Cut the Boards
Once the wall is clean and ready, it's time to measure and cut the thermal backer boards. Use a measuring tape to measure the height and width of the area where you'll be installing the boards. Make sure to add a little extra length and width to account for any trimming.
Mark the measurements on the boards using a pencil. Then, use a utility knife to cut the boards along the marked lines. You may need to score the boards a few times to get a clean cut.
Step 3: Install the Boards
Now it's time to install the boards on the brick wall. Start by applying a thin layer of construction adhesive to the back of the board. Make sure to spread the adhesive evenly.
Place the board on the wall, starting from the bottom left corner. Use a level to ensure the board is straight. Press the board firmly against the wall to make sure it adheres properly.
Once the board is in place, use a drill to attach it to the wall with screws. Make sure to space the screws evenly along the edges of the board.
Repeat this process for the remaining boards, making sure to leave a small gap between each board to allow for expansion.

Step 4: Finish the Installation
After all the boards are installed, it's time to finish the installation. Use a utility knife to trim any excess board around the edges. Then, use a caulk gun to fill in the gaps between the boards with caulk. This will help to seal the boards and prevent air leakage.
Finally, you can paint the boards or apply a finish to match the rest of the room.
Other Options
If you're looking for something a little different, we also offer Multifunction Board and Eco-friendly Backing Board. These boards have additional features and benefits, so be sure to check them out.
Contact Us for Purchase
If you're interested in purchasing our thermal backer boards or any of our other products, don't hesitate to reach out. We're here to help you with your project and answer any questions you may have. Whether you're a DIY enthusiast or a professional contractor, we have the right products for you.
References
- "Home Improvement Handbook" - A comprehensive guide to home improvement projects.
- "Building Materials 101" - An introduction to different building materials and their uses.