

Hey there! I'm a supplier of heat resistant backing boards, and I often get asked about how to repair a damaged one. Today, I'm gonna share some tips and tricks on this topic, so let's dive right in.
Understanding the Heat Resistant Backing Board
First off, it's important to know what a heat resistant backing board is. These boards are designed to withstand high temperatures, making them ideal for use in areas like kitchens, fireplaces, and industrial settings. They're made from materials that can handle the heat without warping, cracking, or catching fire.
Identifying the Damage
Before you start the repair process, you need to figure out what kind of damage your board has. There are a few common types of damage:
- Cracks: These can occur due to thermal stress, impact, or age. Small cracks might not be a big deal, but larger ones can compromise the board's integrity.
- Chips and Scratches: These are usually cosmetic, but they can also expose the board to further damage if left untreated.
- Burns: If the board has been exposed to extreme heat, it might have burns or discoloration.
Tools and Materials You'll Need
To repair a damaged heat resistant backing board, you'll need the following tools and materials:
- Safety Gear: Gloves, safety glasses, and a dust mask are a must to protect yourself from dust and debris.
- Measuring Tools: A tape measure and a level will help you ensure that the repair is straight and even.
- Cutting Tools: A saw or a utility knife will be needed to cut the replacement piece if necessary.
- Adhesive: Choose an adhesive that is heat resistant and suitable for the type of board you're working with.
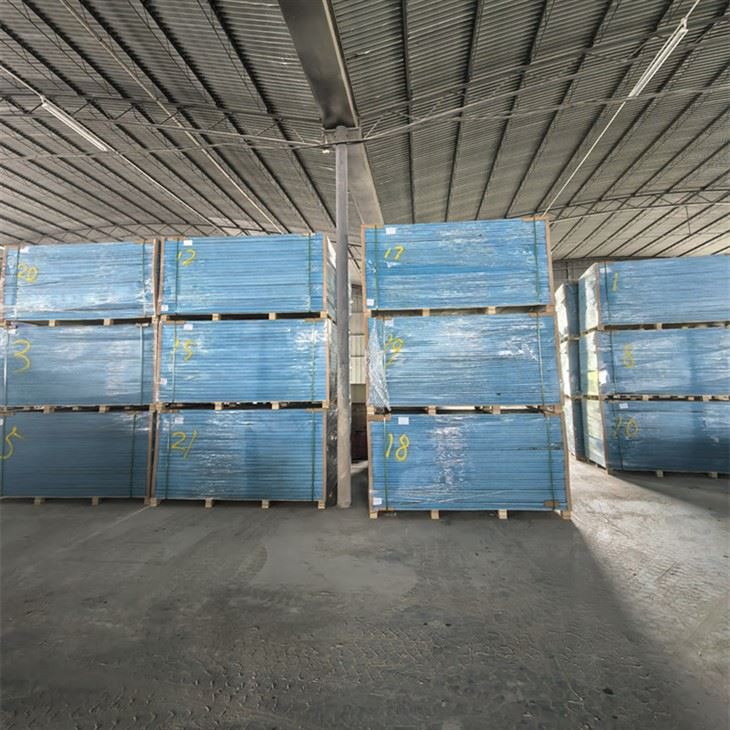
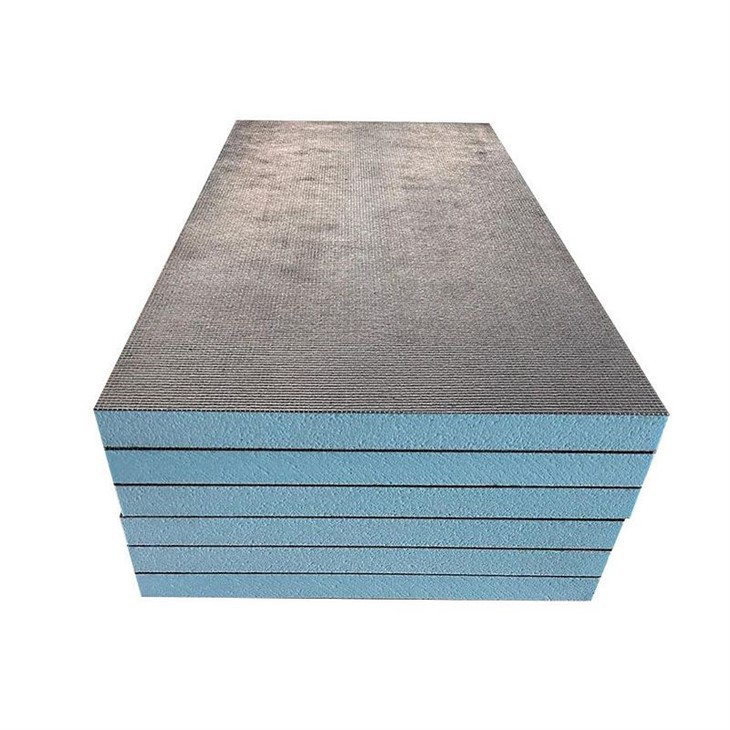
- Replacement Board: If the damage is severe, you might need to replace a section of the board. You can find Water Proofing Cement Board, Lightweight Backer Board, or Foam Waterproof Backer Board at our store.
Repairing Minor Cracks and Scratches
If the damage is minor, you can usually repair it yourself. Here's how:
- Clean the Area: Use a damp cloth to clean the damaged area and remove any dust or debris.
- Fill the Cracks or Scratches: Use a heat resistant filler or putty to fill the cracks or scratches. Make sure to follow the manufacturer's instructions for application.
- Sand the Area: Once the filler has dried, sand the area smooth using fine-grit sandpaper.
- Apply a Protective Coating: To prevent further damage, apply a heat resistant coating to the repaired area.
Repairing Larger Cracks and Damage
If the damage is more severe, you might need to replace a section of the board. Here's how:
- Measure the Damaged Area: Use a tape measure to measure the length and width of the damaged area.
- Cut the Replacement Board: Using a saw or a utility knife, cut a piece of replacement board to the same size as the damaged area.
- Remove the Damaged Section: Carefully remove the damaged section of the board using a pry bar or a chisel.
- Install the Replacement Board: Apply adhesive to the back of the replacement board and place it in the opening. Use a level to ensure that it is straight and even.
- Secure the Replacement Board: Use screws or nails to secure the replacement board in place. Make sure to follow the manufacturer's instructions for spacing and placement.
- Finish the Repair: Once the replacement board is installed, sand the edges smooth and apply a heat resistant coating to the entire area.
Preventing Future Damage
To prevent future damage to your heat resistant backing board, follow these tips:
- Avoid Overheating: Make sure that the board is not exposed to temperatures that are higher than its recommended limit.
- Use Protective Pads: If you're using the board in a high-traffic area, consider using protective pads to prevent scratches and chips.
- Inspect Regularly: Check the board regularly for signs of damage and address any issues as soon as possible.
Conclusion
Repairing a damaged heat resistant backing board might seem daunting, but with the right tools and materials, it can be a relatively easy process. By following the steps outlined in this blog post, you can restore your board to its original condition and prevent future damage.
If you're in the market for heat resistant backing boards or need more information on repair and maintenance, feel free to reach out to us. We're here to help you find the right solution for your needs.
References
- Manufacturer's instructions for heat resistant backing boards
- DIY home repair guides